How to Wire a Dimmer Switch (Single-Pole, 3-Way, and Neutral Wire Rules)
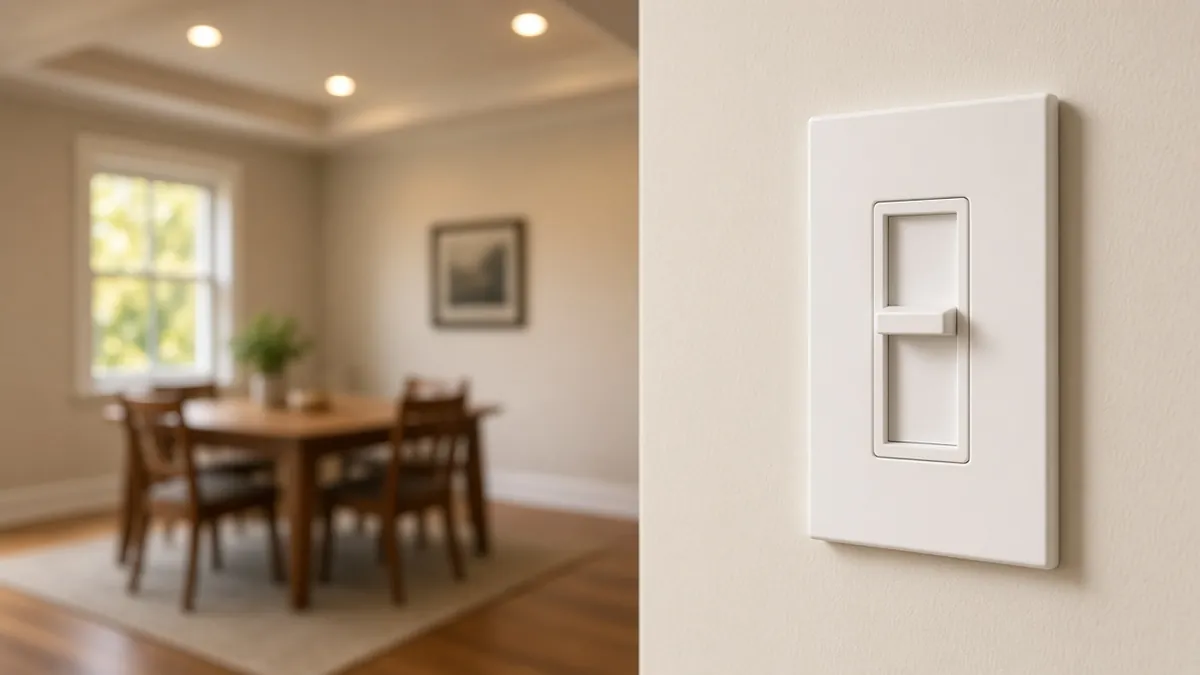
Before You Buy: Check Compatibility and Box Wires
Swapping a regular toggle switch for a dimmer takes twenty minutes if the wires in your wall match the dimmer in your hand. Before ripping open the packaging, check two things first: make sure your bulbs or recessed wafer fixtures actually say dimmable on the collar or spec sheet, and peek inside your switch box (power off) to see whether there is a bundle of white neutral wires capped in the back.
Basic slide dimmers work purely in series on the hot wire with no neutral needed. Smart Wi-Fi dimmers, motion-sensing dimmers, and some ELV (reverse-phase) LED dimmers require a neutral wire to power their internal electronics continuously.
NEC 404.2(C) Neutral Rules at Switch Boxes
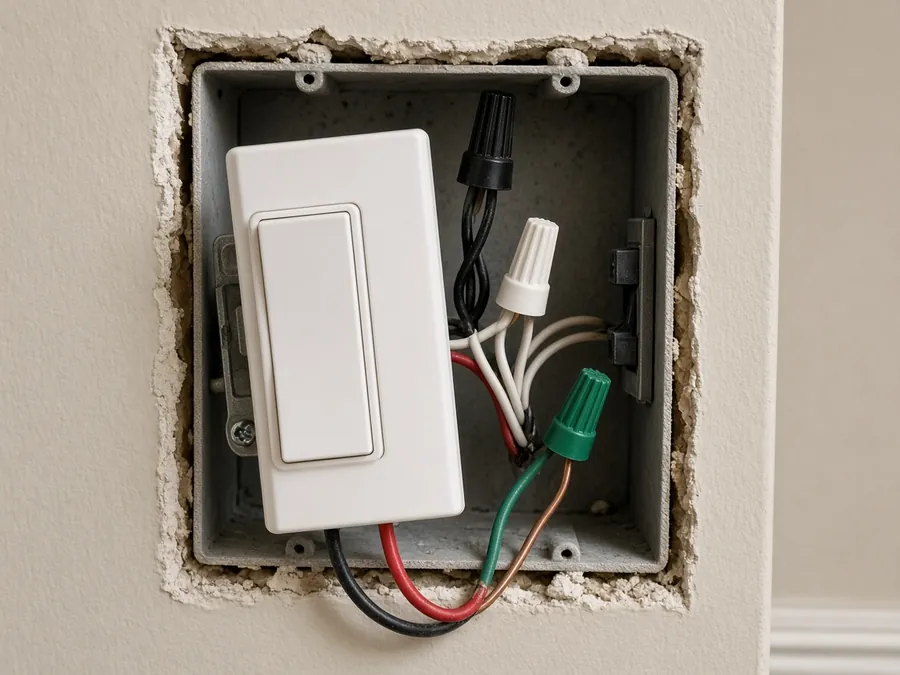
If you're opening a switch box in a home built before 2011, you might find only two wires (black and white, or black and red) on the switch with zero white neutral bundle tucked behind it. That was an old-style two-wire switch loop.
Modern code changed that. Under NEC 404.2(C), switch locations controlling lighting in bathrooms, hallways, stairways, and habitable rooms must include a neutral conductor at the switch box (at least one box on a multi-location setup if the whole floor area is visible from there). The 2023 NEC even removed the old exemption that let builders skip the neutral when a framing cavity looked accessible for fishing wire later.
What if your older home has no neutral in the box? Under the retrofit exception to NEC 404.2(C) and 404.22, listed electronic dimmers or timers marked specifically for no-neutral replacement use are allowed where adding a neutral would require tearing out finished drywall—capped at 5 such switches per branch circuit and 25 per feeder. Never connect a dimmer's neutral lead to the bare copper ground wire unless the device is specifically listed and marked for that narrow retrofit exception under 404.22; stealing ground for standby current on ordinary switches creates shock and GFCI-tripping headaches.
Single-Pole Dimmer Wiring Step by Step
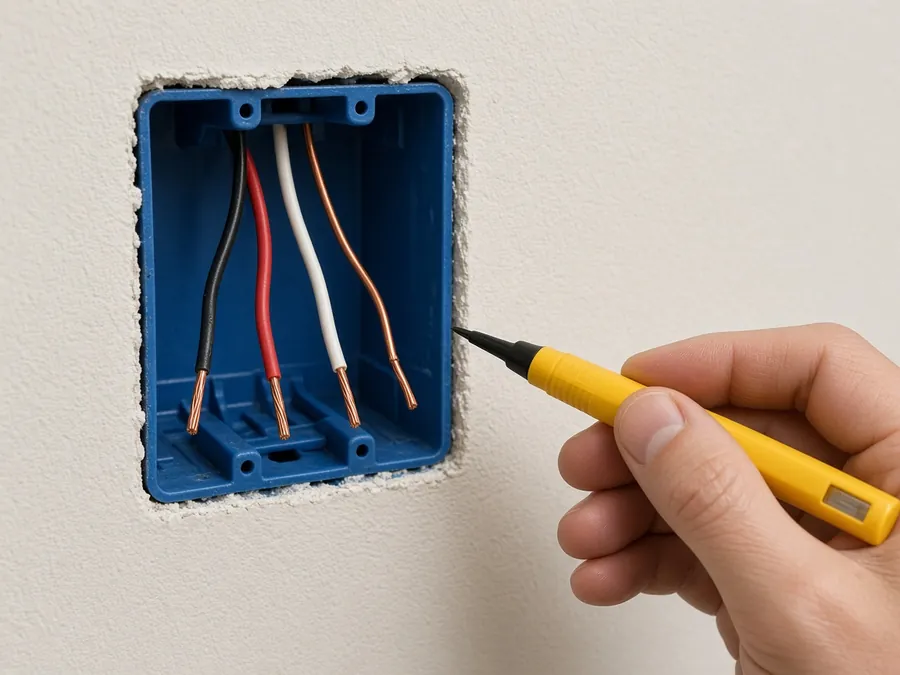
On a single-pole dimmer (one switch controlling one light group), most residential dimmers come with wire pigtails rather than side screws:
- Shut off the breaker and prove power is dead: Verify with a non-contact voltage tester or multimeter on every wire inside the box.
- Label and disconnect the old switch: Take a quick phone photo. A single-pole switch has two hot wires (usually both black, or one black and one red/taped white) plus a bare ground.
- Connect ground first (NEC 404.9(B)): Twist the dimmer's green ground wire together with the box's bare copper grounds using a wire nut (or ground clip if it's a bonded metal box).
- Connect the neutral if your dimmer has one: Attach the dimmer's white wire to the bundle of white neutral wires tucked in the back of the box. If your dimmer is a basic two-wire LED dimmer with no white wire, leave the existing white neutral wire-nut bundle undisturbed.
- Connect the two hot leads: On most basic dimmers without an internal power supply, the two black leads are interchangeable—one goes to the incoming hot feed, one goes to the wire feeding the ceiling light. If your smart dimmer labels specific Line and Load leads, match Line to the wire that stays hot when tested (before shutting off power) and Load to the light wire.
3-Way Dimmer Wiring (Two Switches, One Light)
A 3-way lighting circuit has two switches controlling the same lights. Standard 3-way dimmers only go in one of those two boxes—keep a regular 3-way toggle or rocker switch at the second location. Putting two ordinary 3-way dimmers on the same fixture will fight each other and flicker or fail to light. (Smart multi-location dimmer systems use one main dimmer paired with a matching brand companion remote instead.)
Look carefully at the old 3-way switch before pulling any wires off:
| Wire / Screw on Old 3-Way Switch | Where It Connects on a 3-Way Dimmer | Why Order Matters |
|---|---|---|
| Common wire (landed on the odd dark/black screw) | Black lead (or Common terminal) on dimmer | Carries incoming hot OR outgoing switched load to the fixture |
| Traveler 1 & Traveler 2 (two brass screws) | Two red (or red & red/white striped) leads on dimmer | Swappable between each other, never mix with Common |
| Bare copper ground | Green ground wire on dimmer | Required by NEC 404.9(B) |
Mark that Common wire with a piece of painter's tape before removing the old switch. Once wired cleanly, restore the breaker, turn the lights on, and use the small low-end trim dial under the dimmer's faceplate (if equipped) to raise the minimum dimming floor until the LEDs stay rock steady at their lowest setting.
Frequently Asked Questions
Can I install a dimmer switch without a neutral wire?
Yes, as long as you buy a dimmer designed for two-wire (no-neutral) installation. Basic LED slide dimmers and specific retrofit smart dimmers work without a neutral wire, though you should never connect a neutral-required dimmer's white wire to a bare ground wire unless explicitly listed for retrofit.
Can you put two dimmer switches on a 3-way circuit?
Not with standard 3-way dimmers. Put one 3-way dimmer in one location and leave a standard 3-way switch at the other box, or install a matched smart dimmer and companion switch system.
Does a dimmer switch work on a ceiling fan?
No. Never wire a standard light dimmer to control a ceiling fan motor—it overheats the motor windings and can cause humming or fire risk. Use a dedicated multi-speed ceiling fan control instead.
Why do my LED lights buzz or flicker after installing a dimmer?
Either the bulbs are non-dimmable, the dimmer is an older incandescent-only model rather than an LED-rated (CL/LED+ or ELV) dimmer, or the dimmer's low-end trim dial is set too low for the bulb's minimum driver current.
- NFPA 70 (National Electrical Code) 2023 — Sections 404.2(C), 404.9(B), and 404.22
- Lutron Single-Pole and 3-Way LED+ Dimmer Wiring Installation Guides